Table of Contents
ToggleThe decision to transition from an Android device to an iPhone opens up new possibilities, but transferring your contacts might appear complex. Fortunately, modern technology simplifies this task, making it a straightforward endeavor even for those with zero technical knowledge.
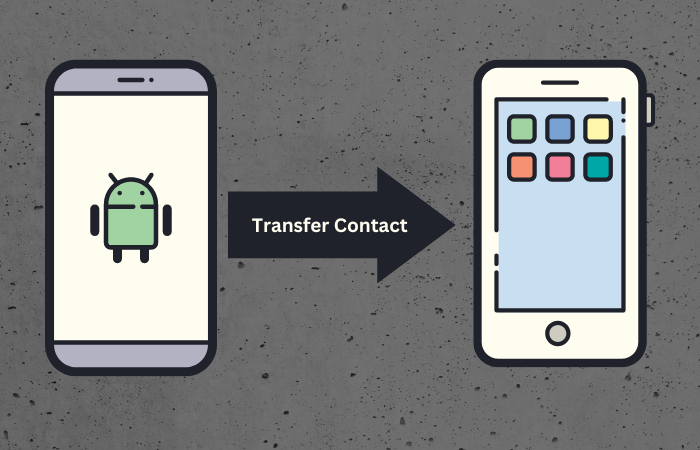
This quick guide will show you How to transfer contacts from Android to iPhone. Rest assured, this transition is more accessible than you might think. So, let’s get right on it without discussing anything further!
How to Transfer Contacts from Android to iPhone
Here are a few steps to follow to transfer contacts from Android to iPhone:
Backup Your Contacts on Your Android Device
Before initiating the transfer process, securing your contacts on your existing Android device is essential to prevent data loss. You are not supposed to lose the critical contacts you might have collected over the past decade or even more.
Here’s what you can do to prevent data loss:
Using Your Google Account
Android devices seamlessly integrate with Google services. Save your contacts by synchronizing them with your Google account. If you have more than one Gmail account, use the one that you have been using consistently over the last few years. Don’t sync your contacts to an account you rarely use because you will likely forget the password or steps of account verification.
Leveraging Third-Party Applications
Numerous apps on the Google Play Store facilitate contact backup. Popular options include “Super Backup & Restore” and “My Contacts Backup.” You can choose the one many users have trusted across the globe. Trust the one with better user ratings and reviews to avoid the hassle.
Synchronize Contacts with Your Google Account
To facilitate the transfer, ensure that your contacts are synchronized with your Google account. This is beneficial because you don’t have to take backups whenever you add a new contact. To make this happen, follow these steps:
Activating Contact Sync
Navigate to “Settings” on your Android device, then select “Accounts” or “Accounts and Backup,” followed by “Google.” Enable the “Contacts” synchronization option.
Confirming Contact Backup
Log in to your Google account and access the “Contacts” section via a web browser. Verify that all your contacts are visible and correctly synced.
Transferring Contacts to Your iPhone
With your contacts safely backed up on your Google account, transfer them to your new iPhone.
Setting Up Your iPhone
Power on your iPhone and follow the setup instructions until you reach the “Apps & Data” screen.
Importing Contacts from Google Account
Optionally, for the “Import from Android” feature, sign in using your Google account credentials, select the desired contact information, and proceed.
Exploring Alternative Transfer Methods
In addition to using your Google account, explore alternative methods for transferring contacts:
Employing the SIM Card
Some Android devices enable contact export to a SIM card. Transfer the SIM card to your iPhone and import the contacts. While you do that, ensure all your contacts are ideally exported to the SIM card. If you miss any, you might be unable to recover them later.
Utilizing the VCF (vCard) File
Export your contacts as a VCF file on your Android device. Transfer the file to your iPhone and import the contacts. This is a method that only a few people know about. So before you run through the process, complete it correctly.
Ensuring Successful Contact Transfer
Confirming that all your contacts have successfully migrated to your iPhone post-transfer is imperative.
Verifying Contact List Accuracy
Open your iPhone’s “Contacts” app and cross-check the list to ensure all contacts are present.
Addressing Common Transfer Issues
If any contacts are missing or inaccurately transferred, rectify the issues manually on your iPhone.
There could be a few contacts that need to be noticed. If you don’t see them in the new contact list, add them manually before you throw away your Android device.
Managing Contacts on Your iPhone
Once contacts are transferred, manage them effectively on your iPhone.
Creating and Organizing Contact Groups
Categorize contacts into groups for streamlined access.
Updating and Customizing Contact Details
Edit contact information, add images, update phone numbers, and include email addresses as required.
Make sure to keep the settings the same as they were on your Android, because this will help you find desired contacts anytime you want without getting confused.
Conclusion
Transferring contacts from an Android device to an iPhone no longer presents a challenge. By capitalizing on Google services and the user-friendly iPhone setup, you can seamlessly transition your contacts and embrace your new device without any complications.
By carefully following the steps outlined in this comprehensive guide, your valuable contact data remains intact throughout the transition, enabling you to get started on your new journey with your iPhone.
Related Article
how to connect apple pencil to ipad


